Cleaning Xbox 360 wireless controller with corroded battery holder
I've been recently playing quite a lot of Fallout: New Vegas on my main TV using Steam link. I've been using wired Xbox 360 controller and it works fine, but I'd like to move to wireless solution. I've had one Xbox 360 wireless controller laying around, but I didn't have the PC receiver for it. I ordered one 3rd party receiver from dealextreme, but it never arrived. However I finally managed to find one original Microsoft receiver cheap. So I decided to clean my controller while waiting for the receiver to arrive.
 Front before cleaning. In nice shape. Even the analog stick caps are in good condition.
 Back. Again only minor scuff marks.
 But here is the real problem. The battery holder has had some leaking batteries inside.
 Luckily it seems that the leakage has not gone to the terminals on the PCB. Those were clean and without corrosion, so I'm assuming the PCB is fine also.
 First a warning. That white gunk is not good for you. It is corrosive so use gloves and eye protection when cleaning these kind of corrosion. Then next warning. The battery holder halves are welded together. So if you decide to open one of these, then there is no easy way to put the halves back together. Glue or tape will be needed. Cracking the spot welds can be done by just pulling the two pieces away from each other. Some force is needed. You could potentially clean this without taking it apart but I wanted to show the insides of this thing also. As you can see one of the terminals on the back is also corroded and there is lump of white battery gunk at the back of the holder.
 The battery holder after cleaning. First thing I did was to to remove the spring loaded clip. You can just lift it up and then pull it away. Be careful not to loose the spring. Then I submerged all the parts to plain white vinegar and water solution. I used half 10% strength vinegar and half water so about 5% vinegar acid solution. Since battery gunk is alkaline or base you need acid to neutralize it. I guess you could use lemon acid also but I've always used vinegar. I let the parts sit in the acid solution for about half an hour. You should be able to see how the corrosion starts to dissolve and form some bubbles while doing so. I used sealed container so I could just shake it every now and then to speed up the process. After the corrosion was completely dissolved I rinsed the vinegar acid away with plenty of water. Finally I threw the parts to soap and water with rest of the controller parts that needed cleaning. This should remove any vinegar smell from the plastic.
 Contacts after cleaning. The left contact still had some rust on it so I used sandpaper to remove it.
 Contact after sandpaper treatment. Nice and shiny.
 Spring loaded clip back in place. There is hole near the foam and the shaft clips in place to the holder closer to the back.
 I didn't want to use glue so I decided at least for now to use pieces of Kapton tape (not the real stuff just some cheap knockoff polyimide tape from aliexpress). It does hold the parts together but not very sturdily. If I ever sell this controller I will glue the halves back together.
And yes I know you can buy cheap replacement battery holders. I actually ordered couple just in case. But if I can rescue original part I will rather use that.

 Then back to the controller. When you are taking apart these you will need a special security bit. It is like torx with hole in the middle. I got mine for free when I purchased replacement Xbox 360 analog stick caps from aliexpress.
 Six visible screws removed. All the same size.
 The hidden screw is behind the serial number sticker. If you want to preserve the sticker then just use some thin blade to start one corner and then peel the rest away with your fingers.
 The final screw that needs to be removed. Same size as the rest of the screws.
 Now you can just lift up the back cover.
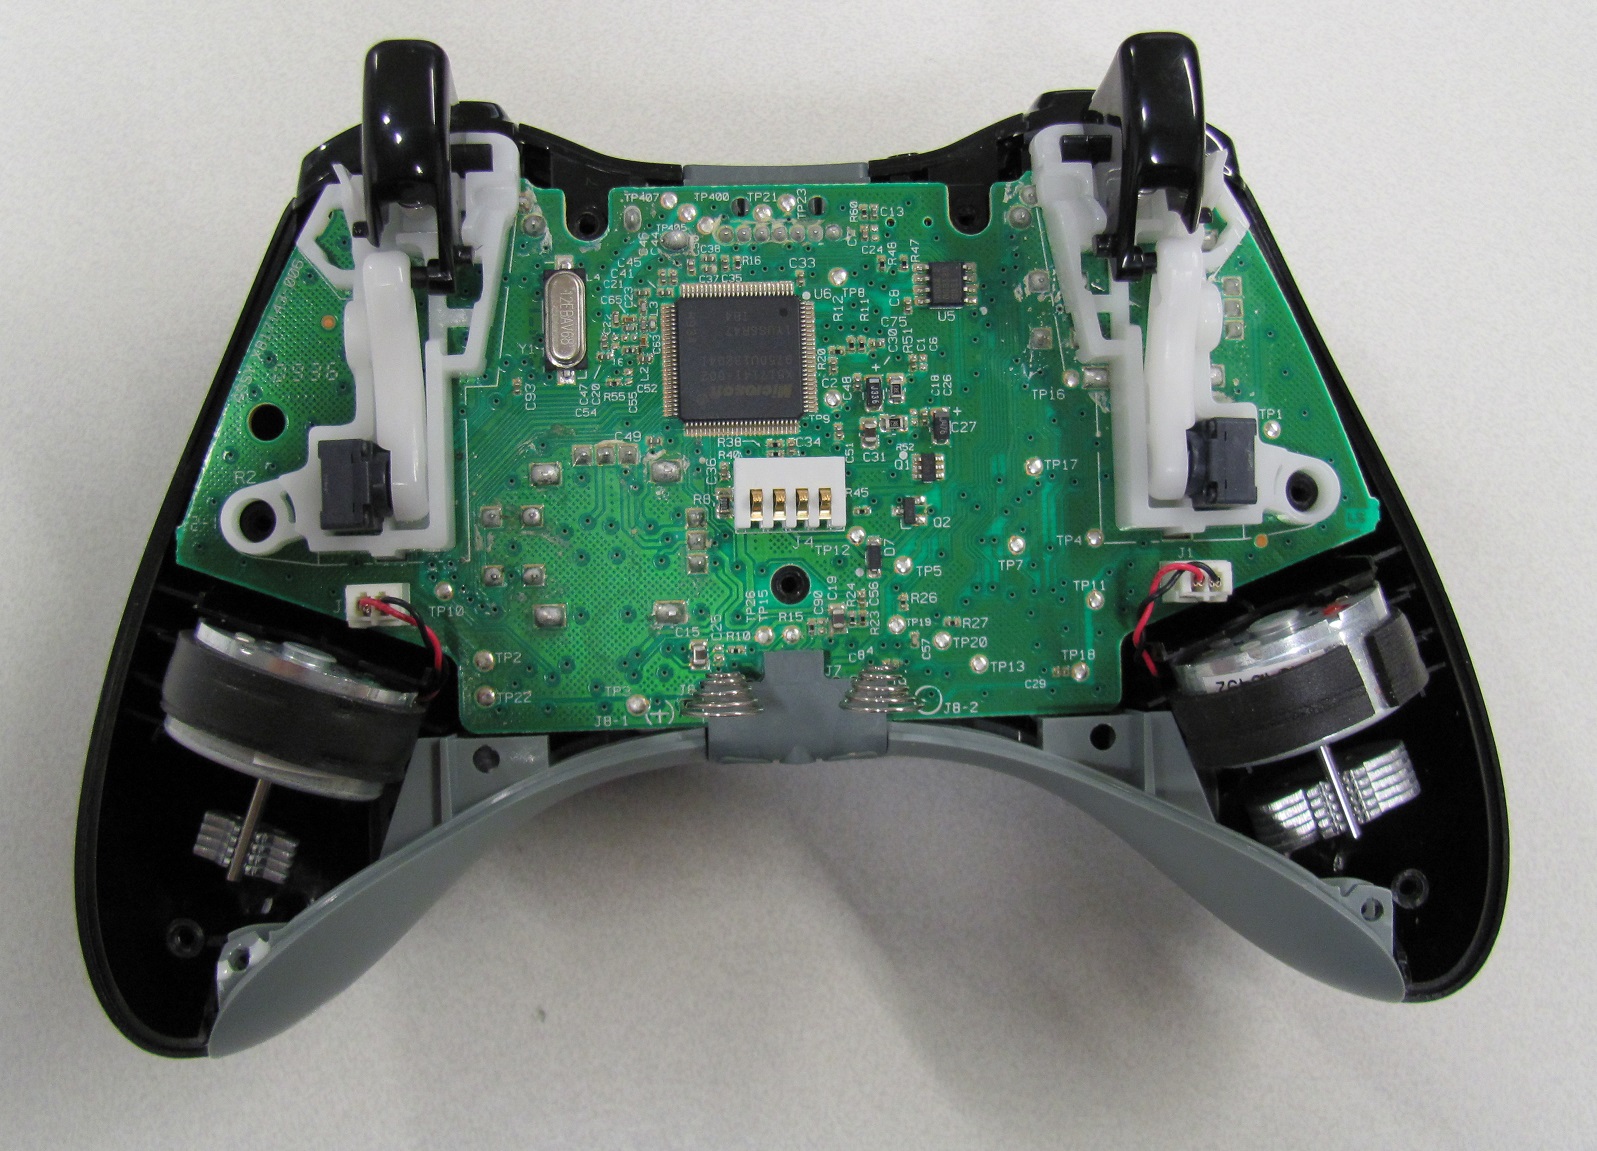
 PCB can be lifted up after you dislodge the vibration motors. Be careful not to break the motor leads.
 Analog stick caps are held by friction so just lift them up. There is some white residue on the PCB but I'm pretty sure that is leftover from the manufacturing process and not corrosion from battery leakage. Anyway I cleaned the PCB gently with isopropyl alcohol trying to remove as much of the white residue as possible.
 There was no reason to remove the trigger assemblies so I just cleaned the triggers with some screen cleaning wipes.
 Front cover with PCB removed. All the silicone pads and buttons can be just lifted up from the cover. The bottom grey part and the top shoulder button bar can also be removed.
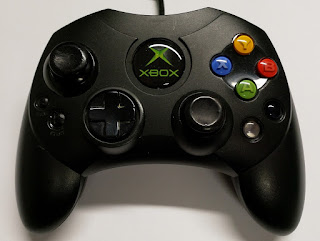
 Only thing that is still in place is the D-pad. This uses same mounting as the original Xbox controller. Two screws and two plastic clips. First remove the screws and then gently undo the clips and the D-pad should separate from the back plate.
 All the washable parts. To the soap and water they go. One thing I forgot to remove at this point was the home button collar. It is also loose part. I noticed that when I was washing the parts.
 All the small pieces washed. Nice and clean.
 Front part reassembled. This is really easy. Everything has guiding notches and holes. It is like building with legos. Well maybe easier since everything goes only to one place.
 PCB back in place.
 Back cover back in place. Here the only tricky part is to make sure you don't damage the battery contacts. Make sure they align to the slots in the back cover before pushing it. I also managed to damage the serial number sticker a bit. Oh well not a big deal.

 Front and back after cleaning and everything back in place. Really happy with the results. Now I'm just waiting for the receiver to arrive so I can test if everything works. Like the original Xbox controller this is really easy to take apart and clean. Only thing I don't like is the use of the security screws. You could replace those with regular screws but I want to keep everything as original as possible. The post for the original Xbox controller is here:
https://strangegamepads.blogspot.com/2019/04/cleaning-microsoft-xbox-controller-s.html


And yes I know you can buy cheap replacement battery holders. I actually ordered couple just in case. But if I can rescue original part I will rather use that.


https://strangegamepads.blogspot.com/2019/04/cleaning-microsoft-xbox-controller-s.html
Comments
Post a Comment